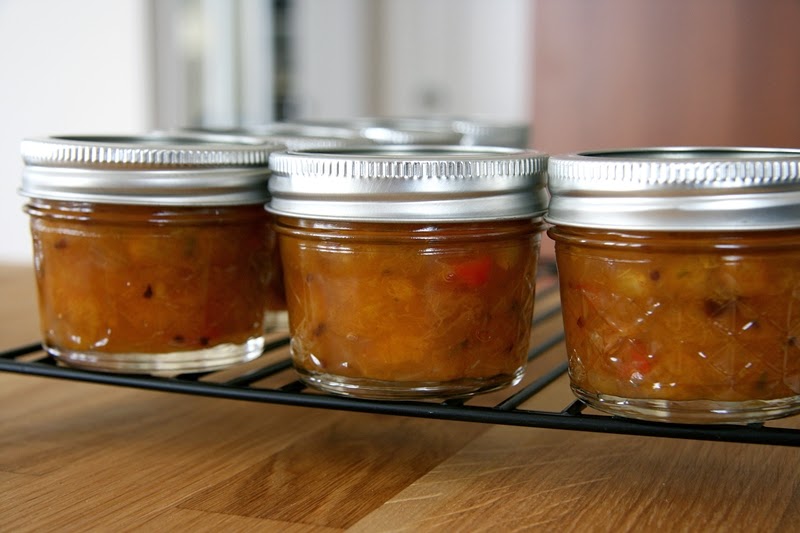
I took my first foray into canning. Growing up my grandma and mom were always cooking jams, jellies, mustards and the like and canning the results, but I've never canned anything all by myself. That is, until this week when a colleague gave me a big bag of freshly picked apricots from a tree in his backyard. It was too many to consume as is, and some were not quite ripe yet. I stashed them in the refrigerator for a couple days while I went scouring for an apricot chutney recipe, shopping for canning jars and collecting a couple items missing from my pantry.
The link to the recipe I used is below, with just one minor adjustment - I added a fresh chilli pepper and increased the cayenne because I like my chutney hot and spicy. I think the result is pretty good and I'm quite happy that the entire project went smoothly, without any bottles exploding and all forming a good seal. It is such a fun project and I'm already planning my next canning mission.
First step is pitting and chopping the apricots, onion, red pepper and chilli. Then measuring out all the ingredients and into the big pot it goes.
Everything gets added to the heavy pot and cooked until the consistency is right. This took about 1 hour 15 minutes for me and determining when the consistency was just right was about the most difficult part of the entire process. I started testing after about 50 minutes, but wanted it to more firm than runny, I was looking for a consistency similar to preserves. Also nearly burned it toward the end - one got to keep a close eye and stir frequently toward the end of the cooking process.
Meanwhile the jars and lids were boiling away in a big pot of water to get sterilized and warmed for the filling part. Then the filling of jars and putting lids on.
Then all the bottles go back into the boiling pot of water. This is the "water bath canning method". The recipe called for 15 minutes of boiling. Here are the bottles happily boiling away. I don't have a canning pot or canning rack, so just put a small kitchen towel on the bottom of my stock pot to keep the jars from touching the direct heat or bouncing around on the surface of the pot. It seemed to work just fine.
Warm bottles then are removed out of the water bath and set on a rack for cooling. It is supposed to sit for 12-24 hours without being disturbed so that the vacuum can get created and a safe seal happen. I could hear each of the lids "ping" as the seal occurred. It is a good sounds and an indication of a good seal.
The next day, I checked the seals by removing the bands and making sure the lid has attached firmly to each of the jars. Added some labels and done!
So what do one do with chutney? Most commonly the way I grew up in South Afica, we would have it with meat like sausage or lamb or lasagna, etc. These days I don't eat meat, but still enjoy it with certain savory dishes, or things like veggie burgers. It is also great served with a cheese plate - will pair really well with a hard cheese like an aged cheddar. Grilled cheese with chutney - on my menu soon for sure.
This is the recipe I used:
http://www.canadianliving.com/food/apricot_and_golden_raisin_chutney.php


No comments:
Post a Comment