Sunday, November 11, 2012

Spinach, Leek & Feta Quiche with Brown Rice Crust


Since I've been experimenting with reducing Gluten in my diet, I was excited to try making a quiche with a non-traditional brown rice crust.

It turned out really well and whether you are gluten free or not, I've discovered that there are many reasons to make use of a rice crust:
1. It is much quicker, cleaner and more simple than making a flour crust from scratch (if you have leftover pre-cooked rice on hand)
2. Whole brown rice is more healthy than flour & butter
3. Make use of leftover rice
4. It simply tastes great!

I've adapted this rice crust quiche recipe to make a Spinach & Leek with Feta Quiche. 

This is what the rice crust look just before baking. 

Chopped Leeks & sauteed spinach.


Spinach, Leek & Feta Quiche with a Brown Rice Crust
(Adapted from Closet Cooking)


Ingredients:
2 cups cooked brown rice
1/4 cup cheddar cheese (finely grated)
1 egg
4 eggs
½ cup milk
1 bag baby spinach
1 leek, sliced
1 cup crumbled feta cheese
salt and pepper to taste


To make Crust:
1. Mix the rice, cheese and egg in a bowl.
2. Press the rice mixture into a pie plate, about ½ inch thick.
3. Bake in a preheated 450F oven until the edges and bottom just start turning golden brown, about 10 minutes.


To make filling:
4. While crust is baking, sautee spinach until wilted and most water evaporated. Squeeze any water and chop. Set aside.
5. Sautee leeks until starting to brown and soften.
4. Mix the eggs, milk, spinach, leeks & cheese and season with salt and pepper.
5. Pour the egg mixture into the pie crust.
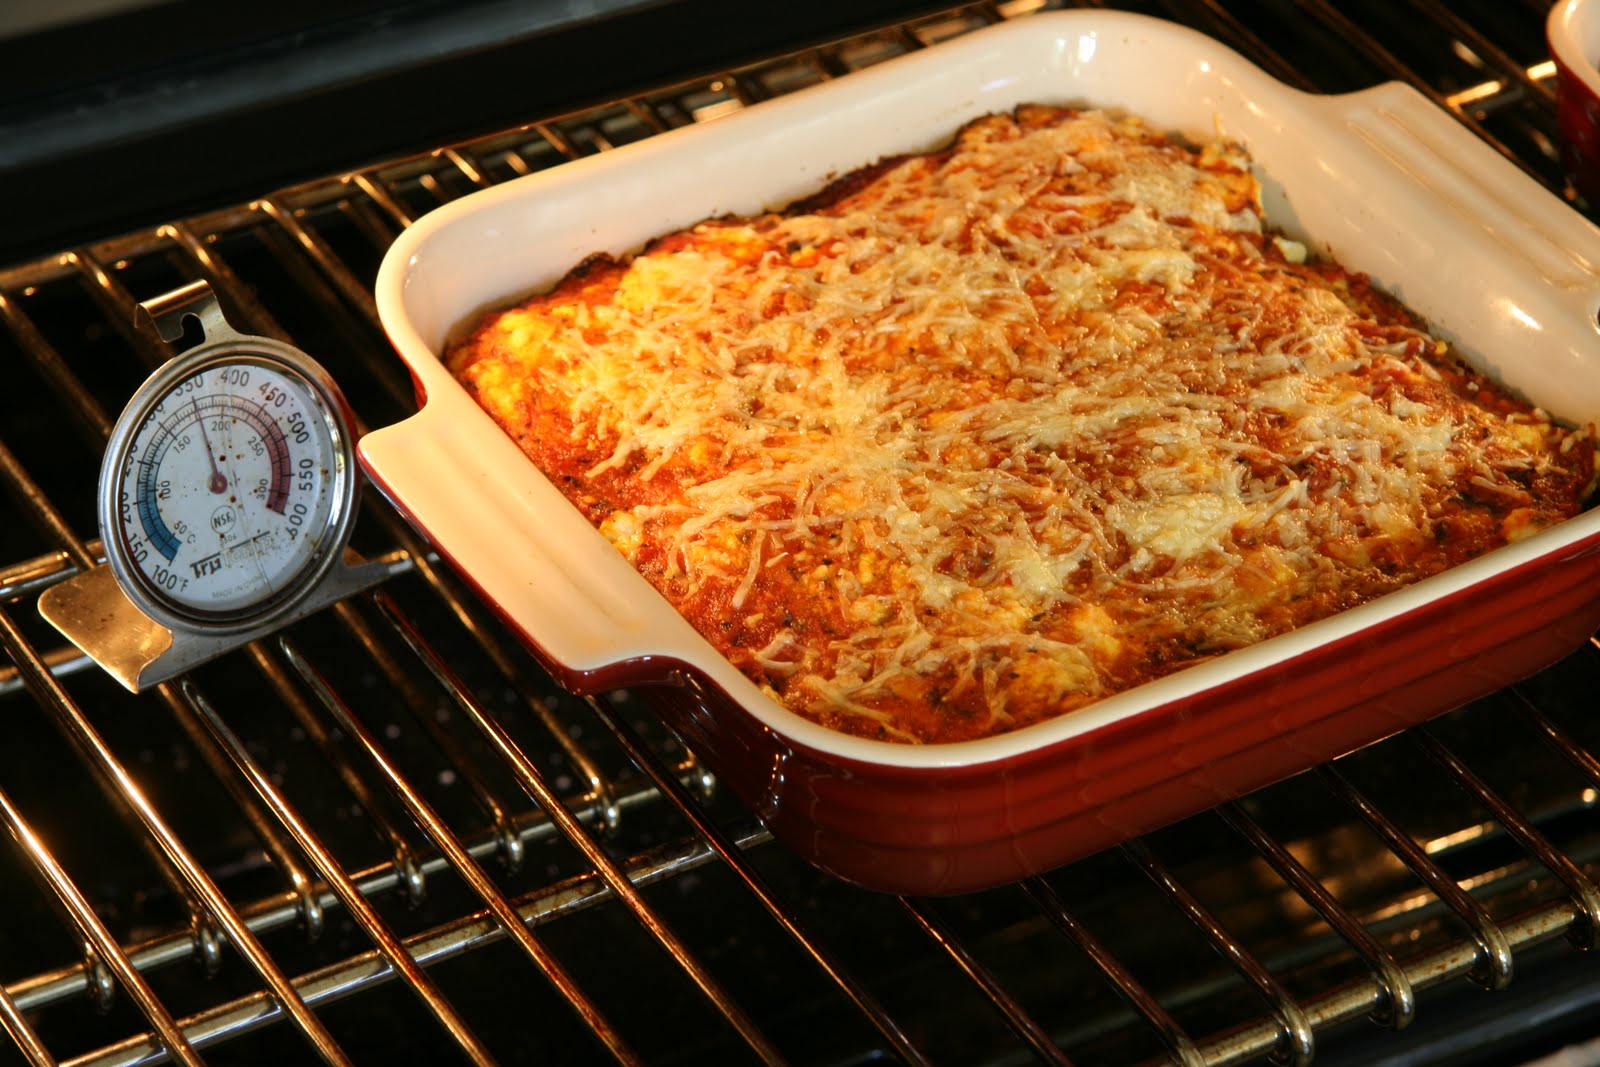
6. Bake in a preheated 375F oven until golden brown and set in the center, about 30-35 minutes.


Monday, February 20, 2012

Tofu & Red Bell Pepper Uramaki

Making sushi at home does not have to be intimidating. Vegetable rolls are fun and quick to make and are perfect appetizers to an Asian themed meal or light lunch.

One of the reasons I enjoy making these myself at home, is that the sky can be the limit fot the combinations of fillings. I find that the selection of pre-made veggie rolls in grocers or even options at sushi restaurants can be very limited, usually to combinations of cucumber, avocado and marinated mushrooms. While all those certainly are delishous, it can get a bit boring. I like to add some carrot or red bell pepper for a splash of color, and baked tofu for substance.

Following is a description of how I made these. Plain soy sauce or tamari would certainly make for a fine dipping sauce, but I think that a more interesting dipping sauce takes it to the next level.

You will also need a bamboo sushi mat to shape the rolls.
The rolls here were made with the rice outside of the nori seaweed (Uramaki).

Tofu & Red Bell Pepper Uramaki

RICE
1/2 cup sushi rice or short grain rice (this is enough for 1 roll)
1 t rice vinegar

Cook rice in about 3/4 cup water until done and water evaporated.
Stir in rice vinegar and let cool.

DIPPING SAUCE
2 T soy sauce or Tamari
1 T rice vinegar
1/2 t chili paste
1/2 t maple syrup

ROLLS
Toasted Nori seaweed sheet
Baked tofu, sliced
Red bell pepper, sliced
Cubumber, peeled, seeded and cut in long strips
Black & white sesame seeds

Lay nori on bamboo mat. Spread with rice on dull side of wrap.
(A good tip is to keep wetting your hands or back side of a spoon to make sticky rice easier to spread.)
Sprinkle with sesame seeds.

Flip the nori over with rice-covered side onto plastic wrap.
Slide bamboo mat underneath plastic wrap.

Lay filling on top of nori. Start rolling the roll, squeezing tightly to compact the rol, working until all the way rolled up.

Slice the roll into disks using a sharp wet knife.

It can be made a few hours ahead and sliced before serving.

OTHER OPTIONAL INGREDIENTS
Carrot sticks - Avocado slices - Sprouts - Mushroom

Tuesday, September 20, 2011

Quinoa with Swiss Chard & Cherry Tomatoes

This was dinner tonight. It certainly was delishous, healthful, filling, easy and quick to make when getting home just before 8pm after a day at the office and after-work visit to the gym. All that is true, but the real reason I'm excited about this post is that it was made with produce freshly harvested from my urban garden. As I was arriving home late and tired and not in the mood for shopping, and stumped with a fridge that has nothing fresh in it, I turned to my garden. Hopped out the back door and cut some beautiful crisp fresh-as-can-be swiss chard and picked some ripe cherry tomatoes from my plant. Some of them had started bursting open, so I think my timing was just right!

There's not much of a recipe to this. Basically got some quinoa going on the stovetop, took a quick shower while that was cooking (multitasking is a necessity on busy weeknights:). Chopped chard and halved tomatoes.

Sauteed the chard for just a minute or two in olive oil, then added the quinoa and tomatoes and stirrred. I really wanted to retain the freshness of the tomatoes and basically just wanted them warmed through.

Added to the pan was juice from one lemon, a dash of soy sauce and the smallest splash of rice vinegar. It turned out nice and tangy, you could very well leave out the rice vinegar if that is not too your taste. Salt & pepper to finish. Freshly prepared, balanced and delishous dinner in just over 15 minutes. I considered adding some feta and green onions on top and am sure it would be great, but did not get around to doing so and did not miss it. The tomatoes were super sweet and juicy and balanced so well with the tangy lemon juice dressing. This makes the trouble of caring for my urban garden worthwhile.

QUINOA WITH SWISS CHARD & CHERRY TOMATOES

1/2 Cup Quinoa 1 Cup Water

Handful Chard leaves, chopped

1/2 Cup Cherry Tomatoes, halved

Juice of 1 Lemon

1 Tablespoon Soy Sauce

1 Teaspoon Rice Vinegar

Bring Quinoa and water to a boil, cover and simmer over low heat for 10-15 minutes until all water is absorbed.

Meanwhile sautee chard for just 1-2 minutes in a splash of olive oil until wilted.

Stir in cooked quinoa and tomatoes. Add juice, soy sauce, vinegar, season with salt & pepper.

Top with feta cheese & sliced scallions if desired.

Saturday, September 17, 2011

Eggplant Parmesan

A few months have lapsed since I made this dish and chronicled it by taking pictures along the way, and now am finally getting around to writing a post about it. There are positives as well as negatives about the loooong time in between shooting and posting. As far as upsides, browsing through the pictures just reminded me again of how much I like to make (and eat) eggplant parm and how delishous eggplant can be. Unfortunately on the downside, I don't recall the exact details of the recipe, or if I even followed a recipe. Usually I will use a combination of recipes as a guideline and what I have on hand, as well as a good dose of improvisation whenenver I cook. This eggplant parm is a pretty good example of such a recipe. I also follow the same process for making tofu parmesan. It's hard to mess it up!
I don't find the first step absolutely imperative, but whenever I do have the time, I will sprinkle eggplant slices with salt and let the water drain off in a colander. It is supposed to remove some bittnerness from the eggplant as well as excess liquid.
Next is the egg wash (an egg beaten with a few teaspoons of water) and then breadcrumbs. Here are various options: plain breadcrumbs, or seasoned with dried herbs like oregano, or use store bought Italian flavored breadcrubs, some grated parmesan can also be added to the crumbs.
Variation: When making tofu parmesan, I generally just use water bath and crumb coating. Even easier!
Bake eggplant slices in a hot oven and turn over when it starts softening and browning. I find it much easier and cleaner than pan-frying and it is more healthy as side benefit. I sometimes give the eggplant (or tofu) slices a quick spray of olive oil to aid in browning.
When eggplant is softened and a bit browned on both sides (test with a fork, should not have much resistance to go through), remove from oven and get ready to assemble in a casserole dish. I happened to have some home made fresh ricotta cheese on hand. (See previous post on how to make this!) You can use ricotta or cottage cheese. Add an egg and some grated parmesan cheese, season with salt and pepper and you have your cheese layer ready to go.
Lastly you will need some tomato sauce. Bottled sauce have done it for me in a pinch, but I prefer to make my own using a can of crushed tomatoes, with sauteed garlic and red pepper flakes & seasonings, cooked until it thickens just a bit.
Assemble layers of tomato sauce, eggplant slices, cheese mixture and top with shredded parmesan or mozzeralla. If you want it real cheesy, add some mozzeralla in between layers too!
Ready for the oven. Bake in preaheated oven for 30 minutes or until bubbly and browned on top. It is good just as is or served over pasta, or on a sandwich.

Sunday, October 3, 2010

Homemade Ricotta

I love most kinds of cheese. Making and enjoying fresh cheese at home is the best. I really love making and enjoying delishious things from scratch and often times it's more the process than the result that I find soothing and enjoyable. Today I'm not sure if it was the process or the result that I liked better. Homemade Ricotta is so simple and easy to make, and the product devine.
While the process I use here to make Ricotta is really the same as Indian Paneer cheese, it is also the quick way to make a cheese very similar to Ricotta at home. The difference is that real Ricotta is made from the whey that is a byproduct from making other cheeses. This process uses milk that is curdled by adding an acid. The acid can be citric acid, lemon juice, buttermilk or distilled vinegar.
A few simple ingredients: basically milk, vinegar and some salt to taste. Bring ingredients to temperature and the acid will curdle the milk, leading to whey and milk solids to separate.
The curds are scooped into a strainer lined with multiple layers of cheesecloth. It is drained to desired consistency, and can even be pressed when making Paneer that is to be cut in cubes.
After letting the cheese dry for about an hour in the fridge, the result was a pretty firm cheese with a great crubly texture. Two cups of whole milk made one disk of cheese that was about 2 inches wide and I'd say a pretty good portion for one person!
It made a perfect topping to awonderful open faced sandwich. Had some good walnut levain bread from Acme Bread on hand, topped with leftover fresh basil pesto that I made for dinner over pasta a few evenings ago, a few slices of tomato (picked fresh of the vines from my home grown urban patio container garden I should say!). Some crumbly Ricotta and a few grinds of fresh black pepper and sea salt. It does not get much better than this.
Grilling the sandwich under the broiler for a few minutes melted the pesto and lightly toasted the bread. The cheese softened a bit but retained structure and got some nicely browned peaks.
Definitely delishious either warm or cold!

Sunday, June 6, 2010

Banana Wheat Muffins Go Nuts for Bread

A small hand of bananas in my fruit bowl starting to turn brown, had me reaching for a recipe to use it today. When you live around the corner from Tartine bakery, why would you bother to bake anything from scratch you may ask. Aside from making use of the ripe bananas I had on hand, here's my other two reasons for doing that today: For one, in the time it takes to wait in line for a breakfast pastry, you could bake muffins from scratch (it's true - this morning 35 minutes before opening, the line at Tartine was already a dozen people deep...) Second reason: You get to control the ingredients and bake some healthy goodness into it. With that in mind, I tried this Banana Wheat Muffin recipe from the Vegetarian Times today. It's a pretty simple and very basic recipe. First mix dry ingredients by lightly whisking to incorporate baking powder and baking soda into flour. It consists partially of all purpose flour, whole wheat pastry flour and added wheat bran. Lots of fiber! Then mash bananas and mix wet ingredients together. This recipe even cuts out the high calorie egg yolk, and only uses 1 egg white. I did not have the chocolate chips that the recipe called for, but my substitution of chopped walnuts were a perfect addition, and making it even a bit more healthy. Tip: Nuts stay fresh in the freezer much longer than outside. I always have an assortment of nuts in the freezer to use in impromptu baking occasions just like today, or to add to a salad, or make a quick pesto sauce. You may have wondered why the pictures above are of bread slices when the post is about a muffin recipe. I've decided to bake in a loaf pan as I'm planning to freeze some of the bread for breakfast on the go over the next few weeks. I find that a bread slices are easier to wrap and freeze than awkward shaped muffins. One can also then pop slices into the toaster for a quick defrost and light toast. I baked the loaf approximately 40 minutes in a preheated oven at 375F. Keep testing for doneness after about 20 minutes until baked through. I found the bread surprisingly moist considering the very low fat content and delicious as is, but really good served with some berry preserves. Lots of fiber and fruit, and low fat - this turned out great!

Sunday, October 25, 2009

Pumpkin Pie

Now that pumpkins are back in season, I'm having a lot of fun experimenting with different squashes. Made pumpkin pie this weekend for the first time. I found a pretty little Sugar Pie Squash on the sidewalk produce shelves at Bi-Rite market. This is one of the best varieties for pie as it has a smooth consistency. The pie turned out quite delicious. Here's what I did. Making pumpkin puree from scratch can be time consuming but definitely worth it and very easy. The pumpkin has to be cooked first by either boiling, roasting, steaming, etc. I did not want to heat up the kitchen and decided go for steaming it. Cut the pumpkin in half and scoop out the seeds and stringy flesh with a spoon. Then cut the pumpkin in 2-3" chunks. Steam over 1" water in a pot with a steamer insert until the squash is tender when pierced with a fork. Mine took about 25 minutes. After the pumpkin has cooled, scoop out the flesh from the skin. A spoon worked well to get this done. Puree in a food processor until smooth. Measure out the amount needed. TIP: Most pumpkin pie recipes call for 2 cups of pumpkin puree. My pumpkin provided about 3 cups, so I refrigerated the leftover cup to make a quick soup for lunch. (Reheat the puree, add some reduced fat milk and seasoning). Then used it to bake a simple pumpkin pie. For this pie, I took a shortcut and just poured the batter into a frozen pie crust (shhh!). The result was just great! TIP: Here's another hint: Some chopped candied ginger pieces makes a perfect garnish.